Hypergravity Isolation Training develops maximum grip strength through weighted practice on a series of identical finger holds. Once you understand the basics, fine tune your HIT session with these tips.
1. Each set must be near-maximum intensity and produce failure in 10 to 20 hand movements. Add weight if you achieve more than 16 reps. Ideally you should reach failure between 10 and 16 reps.
2. No stopping or chalking during a set. Climb briskly and without hesitation. Consider using a spotter so you can keep moving confidently up to the point of failure. Always step off the wall as opposed to risking an uncontrolled fall.
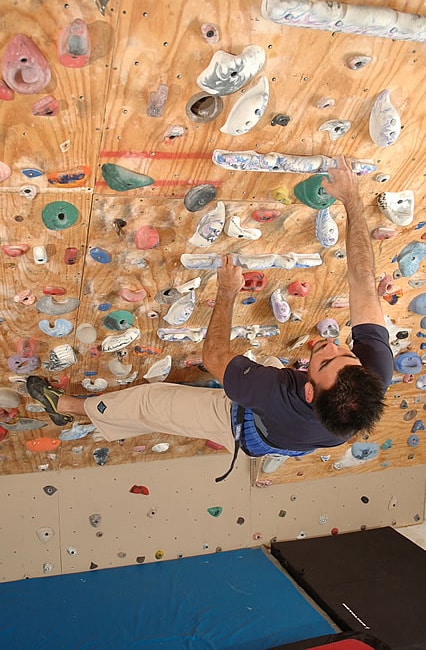
3. Try to climb through the reps with normal foot movements and body turns. Smaller foot holds (approximately 0.75 to 1.5 inch in depth) are best, but too much thought on footwork will slow you down. Most important, keep the footwork simple—the goal here is to train the fingers, not footwork and technique.
4. Rest breaks between sets must be exactly three minutes. Use a stopwatch and stick to the planned order and schedule of exercises. This way you can quantify and track your gains in finger strength! If you’re sloppy on the length of rests, the numbers become meaningless. Advanced climbers may choose to do two or three sets with each grip.
5. Keep a training book where you log each set, weight added, and the number of reps achieved. This way you’ll always know what weight you need for a given set and you can easily track your gains (weight and rep increases) from workout to workout.
6. Always do your Hypergravity Isolation Training workout in the same order and never perform more than three sets per grip position! I advise one set per grip position for all climbers new to HIT and for anyone uncertain of their capabilities. There will be no added stimuli by doing an excessive number of sets—you’ll only dig yourself a deeper hole to recovery from, needing more days to recovery, and risk injury.
7. Tape your fingers using the “X method” to reduce skin pain. I find this imperative when I climb with high amounts of added weight. The increased skin comfort will enable you to push the envelope a bit further—you never want to end a set due to skin pain! You can also sand down the HIT Strips if the texture causes pain that prevents you from completing the workout. Note that new HIT Strips have a texture ideal for the high traffic of commercial gyms, but it’s way too aggressive for home gyms. Therefore, I encourage you to remove the texture from where your fingers wrap over the holds, while leaving the texture intact where your finger tip pad touches (grips) the strip.
8. Increase rest days if you find your HIT reps and weights are decreasing. If you ever feel “weak” on the rock after a HIT Cycle it’s due to insufficient rest. Remember that it can take as much as 4 to 7 days to recover from severe central fatigue. At the very least, you’ll need two full rest days days between HIT workouts. I find that I often need three days to feel 100 percent. Therefore, I advise alternating two rest days and three rest days between your workouts—this translates to two Hypergravity Isolation Training workouts per week. Any additional climbing should be done on a day preceeding a HIT workout day. A brief, low-intensity “recovery climbing session” (easy, no-pump climbing) is okay—and perhaps beneficial—the day after a HIT workout.
9. Cycle on and off of HIT every two weeks, or employ weighted HIT workouts during the three-week maximum strength phase of the 4-3-2-1 cycle or the 3-2-1 cycle. I prefer the former schedule (2 week on-off cycles) during climbing season, whereas I use the 3-2-1 Training Cycle during my winter off-season.
10. Other training protocals to consider: Use of the HIT System as a method of training anaerobic endurance (AE), by climbing up and down for as long as you can at bodyweight. You can also employ the HIT System as part of a Complex Training program (where you combine, say, HIT Workouts with Campus Training). I’ll provide more info on these methods in future articles.

