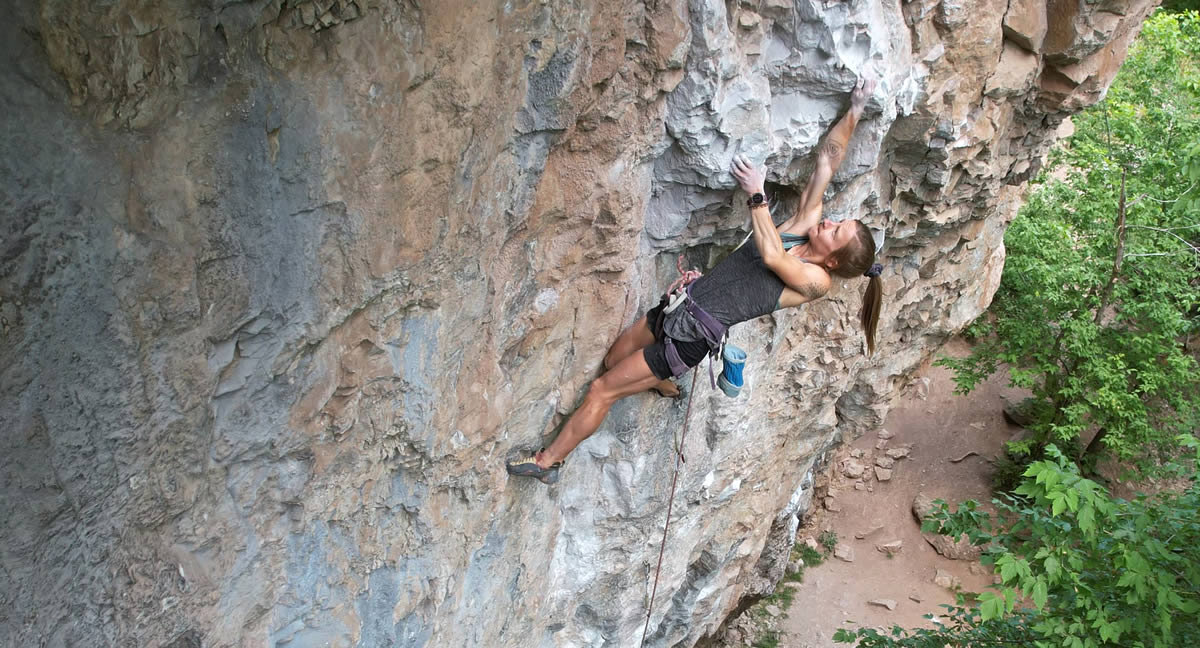
When it’s finally time to transition from recon mode to redpoint mode on your project, resist the urge to simply hop on and see how high you can get from the ground up. Learn the difference between highpointing and lowpointing to determine the best sending tactic for you.
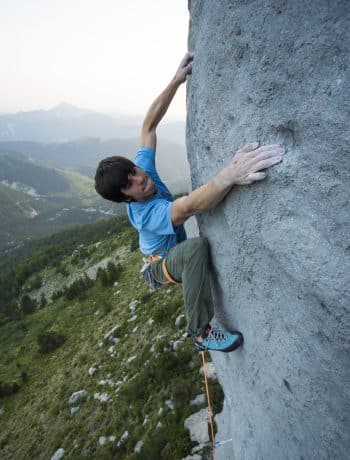
When projecting, you have two options: start at the bottom (like you might expect), or, work from the top down.
After refining each separate segment of a hard project, the next step is to link them. Most climbers start this process from the very bottom. But there’s more than one way to string the segments together into a finished product.
Highpointing
The traditional method, highpointing, involves starting at the ground and climbing up as high as you can before falling. This seems like the most logical approach on the surface; that’s how you’ll have to climb it on the send go, after all, so why not get in the habit from the beginning?
Highpointing also offers a very straightforward way to visualize your progress. The higher you get on each attempt, the closer you are to sending. The climb becomes a measuring stick, each new high point an indisputable sign of improvement.
But consider the fact that fatigue escalates over the course of a climb. Once you near the top, the pump could have you feeling so flamed that even a relatively easy finish feels desperate. Having the final moves dialed can mean the difference between a confident send and a fall within spitting distance of the chains.
When working from the ground up, though, climbers spend more time on the lower segments of the route. The upper portions get put on the backburner while you’re stuck punting off further down. By the time the entire bottom finally clicks, the top might have largely faded from your memory—and you’re too exhausted to figure it out all over again while on point. Cue the heartbreak whip.
Lowpointing
You might be better off flipping the climb on its head and starting at the top instead. In this scenario, the climber would pull through the lower sections or tackle them bolt to bolt, then work on linking the final two segments first. You’d then continue starting lower and lower, working on linking each new section all the way to the top, until you’re ready to take it from the ground.
Lowpointing allows climbers to get more practice on the tenuous upper portions of a project. You’ll become familiar enough with the finishing moves that pushing through the pump won’t feel nearly as stressful on the go. Even if the crux lies near the bottom, you’ll have more energy for those moves than you will for anything higher up, so chances are that they won’t require quite as much rehearsal.
This method also gets climbers out of a rigid mindset. Mixing up the way you view a climb can help you keep a curious mind instead of fixating on linear progression. A change in perspective might open your eyes—literally and figuratively—to different sides of the climb. Lowpoint tactics ensure that the projecting process stays interesting.
If you’re all too familiar with the feeling of thrashing for survival at the top of a climb, counting down the seconds on the pump clock and praying to the rock gods for a reprieve, try reversing your link strategy. Remember…
- Scope out your route.
- Break it down based on cruxes, rest positions, and style changes.
- Refine it one section at a time.
- Link segments together, and consider putting lowpoint tactics to the test.
Related Articles:
- Chunk Down Your Route for Faster Sending
- Projecting 101: 6 Tips for Sending Your Project
- The “10-4” Rule for Projecting Sport Climbs (And Steady Improvement!)
- The Optimal Mindset for Projecting and Sending the Climb!
- Projecting Strategies: How to Suss and Send
Copyright © 2000–2023 Lucie Hanes & Eric J. Hörst | All Rights Reserved.

