“Nix any thoughts of redpointing the route—leave that for some future moment; whether it’s later in the day or later in the season, who cares. Projecting is a journey to be enjoyed. Get started!”
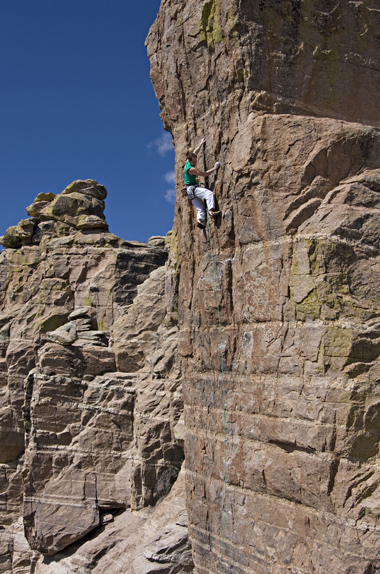
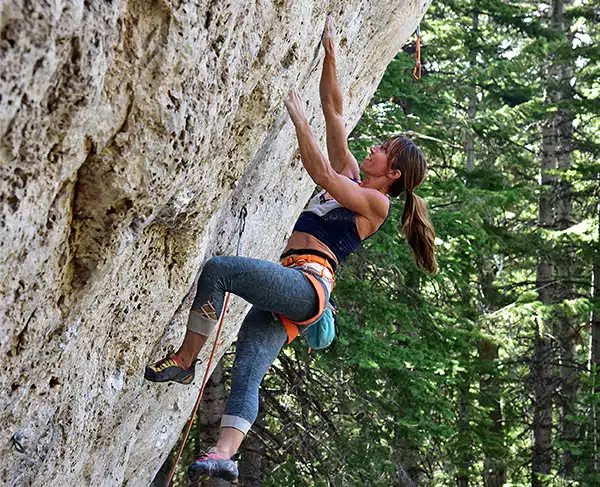
The Mt. Lemmon classic Arizona Flyways. (Courtesy of Eric McCallister)
Standing below a beautiful, near-limit project climb can be inspiring…but also a bit intimidating and scary. Sure, you want to send the route so bad that it hurts! On the other hand, it’s not uncommon to feel a little apprehensive or anxious about getting started on working the proj. Perhaps you even feel a slight fear of failure, as dark thoughts and emotions arise about the potential for a long-term projecting effort.
The countermeasure to immediately eliminate any feelings of trepidation or foreboding (about what might happen or how long it might take) is to get to work on the project without delay. Nix any thoughts of redpointing the route—leave that for some future moment; whether it’s later in the day or later in the season, who cares. Just get on the route and have some fun sussing it out. Remember, projecting is a journey to be enjoyed. Break the climb into bite-sized pieces and get start snacking!
“Chunk” the Route into Manageable Parts
The benefits of breaking down a difficult climb into parts—I call them “chunks”—are both mental and physical. Psychologically, it reduces the burden of a long, hard route by allowing you to consider its parts as several shorter, doable climbs. Physically, chunking lets you dedicate full energy to solving the crux chunk first, as if it were a route of its own. Only when this is figured out do you begin to serious work on linking the crux sequence to other parts of the route.
Before you can chunk down the route, you need firsthand knowledge. Take a quick reconnaissance run up the climb to determine its logical parts—how you chunk down is, of course, route-dependent. For instance, a route made up of 70 feet of moderate climbing followed by just 10 hard feet to the top is best chunked in two parts. Knowing that the first 70-foot section is immediately doable, get to work on solving and linking the last 10 feet while you’re fresh. On a climb with multiple cruxes, chunk down each difficult section into a route of its own defined by good rest positions first and gear placements second. Sport climbers commonly break down short routes bolt by bolt—for instance, a five-bolt climb having five chunks. A longer, more endurance-oriented sport route, however, is best chunked down according to rest positions—each rest stance or shakeout position defines the beginning of the next chunk.
After the first run through the route, rank each chunk from hardest to easiest, keeping in mind that the upper chunks may seem harder on redpoint due to fatigue. Now get to work on dialing in each chunk with a focus on finding the most efficient and brisk way through each section. It’s generally best to focus on solving the harder chunks first (while mentally and physically fresh); you can blast through the easier sections as you climb through them on your way to work on the crux sections. Also, it’s very important to sufficiently practice the final chunk (even if it seems relatively easy), since you’ll be tired when climbing this section on redpoint.
Linking Chunks
The most popular method of linkage is to climb ever-increasing lengths of the route to the top. Consider the common scenario of working a route with the rope already through the top anchors. From the anchors, lower down the route (re-clip the tope if overhanging) only as far as you think you can redpoint back to the top. This might be only a 10-foot chunk if the end is the crux. If you succeed at that chunk, lower down and add another chunk to the linkup. Continue adding chunks until your starting point hits easy ground, or the actual ground. This process of linking chunks can take hours or days, depending on the length and difficulty of your project. But there’s much greater value in this approach than in the old start-from-the-ground method.
Linking from the top down makes you extremely familiar and confident in the final portion. On redpoint, it’s here you want to be especially dialed in due to the accumulation of mental and physical fatigue. On the other hand, the from-the-ground approach commonly leaves you thrashing for survival on the top part, which you’ve practiced much less. Such ground-up efforts are more likely to result in a fall off the final moves, making a waste of even the most heroic effort. Of course, if your project is a super steep Motherload-sized cave, then you’ll likely need to begin each working effort from the ground (unless you are proficient at “boinging” up the rope).
Go For the Redpoint?!
In the end, your goal is to work the route as efficiently as possible, striving to conserve both time and energy so that you can get to redpointing the project as soon as possible. When to actually go for the redpoint send is largely a gut instinct. But if you can connect the crux chunk with the chunks both below and above, you are probably ready. Another gauge is the popular one-hang rule: If you can climb the route with just a one hang, either just before the crux or just before the anchors, then you are likely ready to go for the big send!
Copyright © 2000–2015 Eric J. Hörst | All Rights Reserved.